This chapter explains how to set up Object Manager Advanced in order to be effectively using its features.
Object Manager Setup
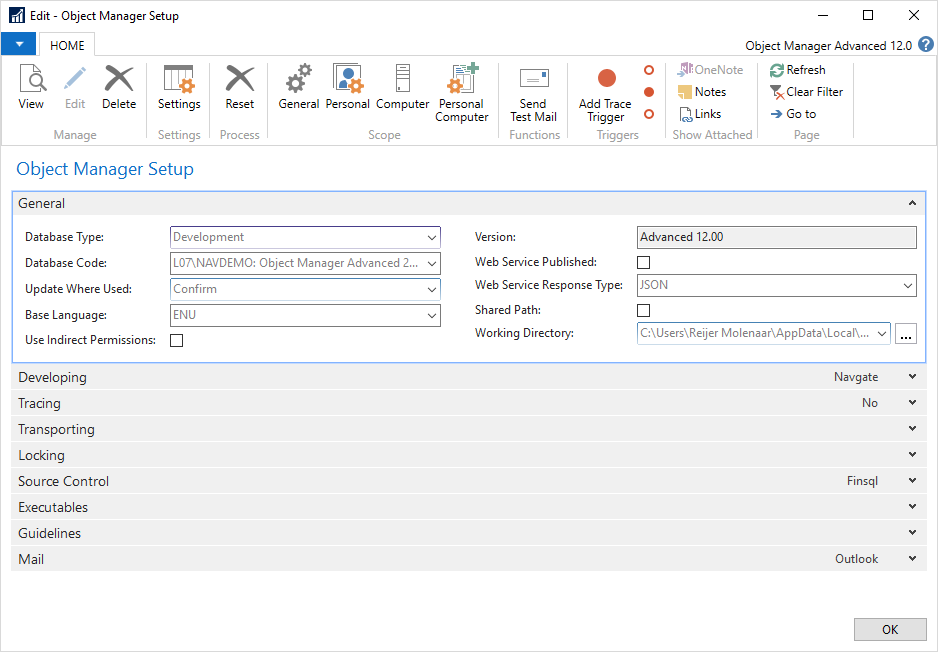
The key settings that define the behavior of Object Manager Advanced are located in Object Manager Setup.
Setup Initialization
To begin using Object Manager Advanced, you need to initialize its setup, providing default settings (statuses, project flows, etc.). Depending on the type of database where you installed Object Manager Advanced the setup can be set up with a different collection of settings. To define the setup, open the Object Manager Setup window: go to Departments > Object Manager > Setup, then click Object Manager Setup.
Object Manager Setup
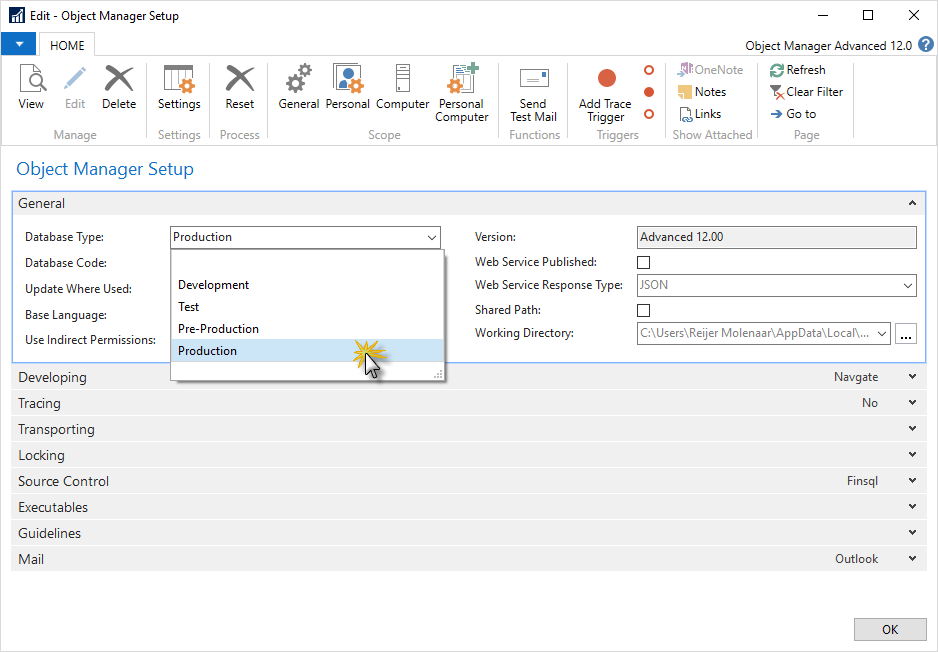
By default, Object Manager Advanced treats the database where it is installed as a development database. If you installed Object Manager Advanced in a test, pre-production, or production database, you can setup accordingly by selecting the Database Type value.
Changing the Database Type
Depending on the database type, settings in the Object Manager Setup window are as follows:
Field Name | Value | |||
|---|---|---|---|---|
Development DB | Test DB | Pre-production DB | Production DB | |
Transport Nos. Format | T0001 | TT0001 | T0001 | T0001 |
At Importing Transport (group of fields) | ||||
Confirm Changes | No | Yes | Yes | Yes |
Reset Project Status | No | Yes | No | No |
Block Project | No | Unblock | Yes | Yes |
Block Transport | No | Yes | Unblock | Yes |
Lock Object at Design | Yes | No | No | No |
Save C/AL at (group of fields) | ||||
Modification | If Changed | No | No | No |
Assigning | If Changed | No | No | No |
Locking | If Changed | No | No | No |
Unlocking | If Changed | No | No | No |
Transporting | Yes | No | No | No |
Before Import Transport | If Changed | Yes | Yes | Yes |
After Import Transport | If Changed | Yes | Yes | Yes |
Synchronize Scheme Changes | Force | Yes | Yes | Yes |
The following setups are initialized in the same way for all database types:
CONSULTANT and DEVELOPER user roles
DEFAULT project and transport types
Sample project and transport statuses
Sample project and transport flows
Sample comment types
Setup and Setup Values
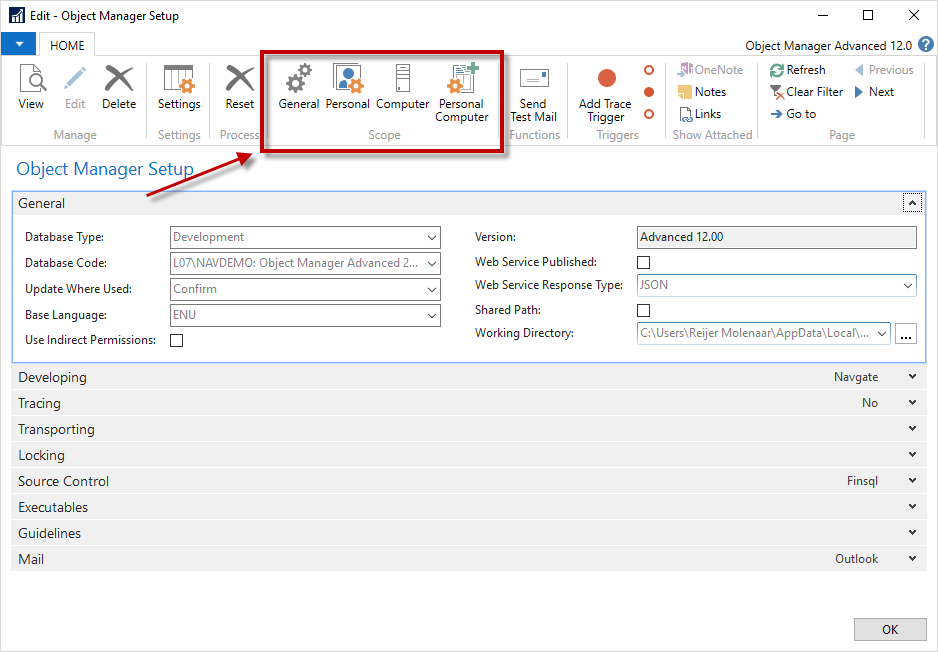
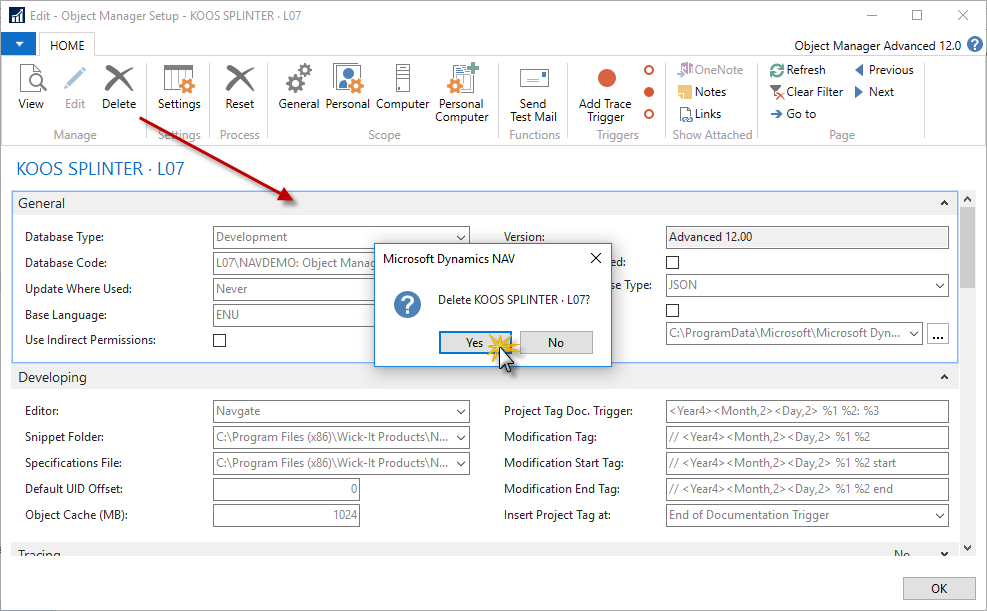
After you initialize the Object Manager Advanced setup, you can proceed to provide settings in the Object Manager Setup window. There are 4 different levels where you can provide settings.
General setup values will be used if nothing is specified on a lower level. Personal, Computer, and Personal Computer can be specified if you want to differ on user or machine level. All grey values are the default values or values inherited from a higher-level setup.
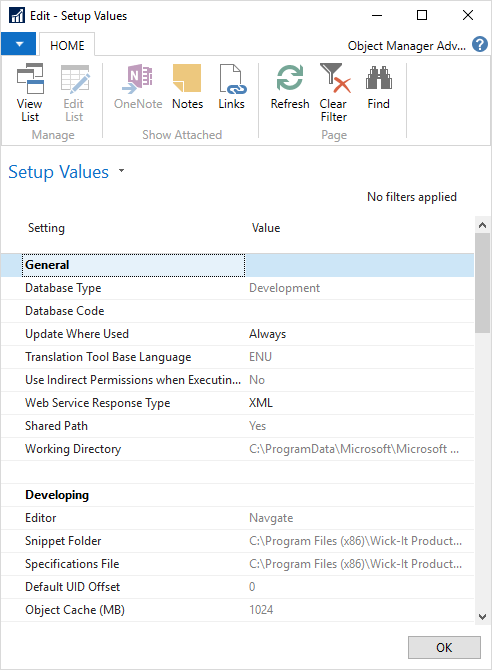
To see all your settings in the specified scope in the list view you can choose Settings in the ribbon.
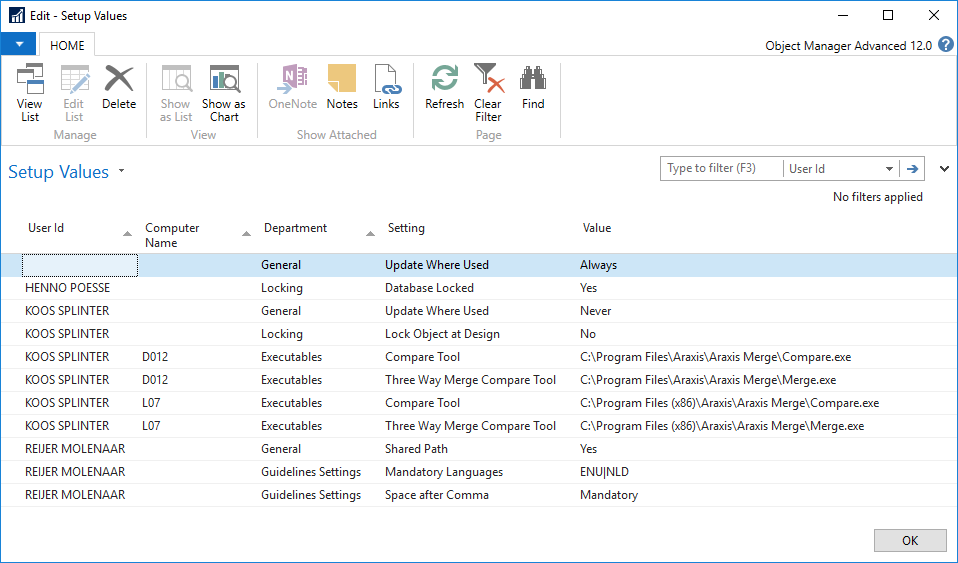
To see all specified settings at any level you go to Departments > Object Manager > Setup and then click Setup Values.
To remove your personal or machine settings, click Delete in the ribbon. The default or general settings will apply to you from that time on.
Default Settings
Object Manager tries to find the best settings suited for your environment. It looks e.g. in the CustomSettings.config for your database settings, checks the program files folder for the best-installed executables and it reads the register to see if Navgate is installed.
General
General
Database Type | Select the type of the database. User can choose between Development, Test, Pre-Production and Production. |
|---|---|
Database Code | (Optional) This field can be used to select the database for Object Manager Advanced to work with. By default, this field contains the name of the database where you installed Object Manager Advanced. Before you can select a database, you need to set up the database list. |
Update Where Used | Choose how the program must update the Where Used data for Object Manager. Possible options are:
|
Base Language | This field displays the language that is used as a base language in the Translation Tool. |
Use Indirect Permissions | Select this checkbox to enable modification of data in tables that have indirect permissions. |
Version | This field displays the version of Object Manager Advanced that you installed. |
Web Service Published | This field indicates if the OMA Web Services are published. |
Web Service Response Type | This field displays the format of the responses in the Web Services. You can choose between JSON and XML. |
Shared Path | Object Manager Advanced would assume that the client and server are located on the same machine. This setting is used to skip a three-tier routine when working with files. Select this checkbox to use the working folder as a shared folder, instead of the TMPDIR from NAV. |
Working Directory | Enter a path to the directory where Object Manager Advanced will store temporary files. |
Developing
Developing
Editor | This field displays the editor that is used to edit objects inside OMA. You can choose between Object Manager or Navgate. |
|---|---|
Snippet Folder | See Navgate manual for more information |
Specification File | See Navgate manual for more information |
Default UID Offset | The starting number that new elements get when added with Navgate. |
Object Cache (MB) | See Navgate manual for more information |
Project Tag Doc. Trigger | The format of the tags that are added to objects when assigning modifications. |
Modification Tag | See Navgate manual for more information |
Modification Start Tag | See Navgate manual for more information |
Modification End Tag | See Navgate manual for more information |
Insert Project Tag | You can choose if the project tags are added to the begin or the end of the documentation of the object. |
Tracing
Trace Modifications | Every time an object changes, the SQL trigger will add a record to the modifications table. |
|---|---|
Process Modifications | This field displays if new modifications will be processed. |
Process Modifications Interval (sec.) | Number of seconds between each time that the Object Manager looks for new changes. |
Group Modifications Period (sec.) | The number of seconds that several modifications will be grouped as one. If this setting is set to 60 you will have a maximum of one modification record per object per minute in the modification table. |
Set Modification Flag to False |
|
Transporting
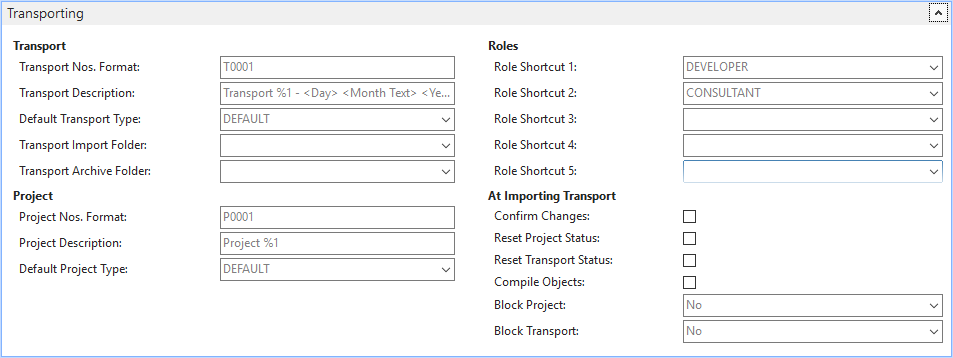
These settings will be explained in chapters Projects and Transports.
Locking
Locking Settings
Database Locked | Select this option to lock all database objects. |
|---|---|
Lock Object at Design | Select this checkbox to have the program lock an object when you design it with OMA. |
At Modifying Object (group of checkboxes) | Place check marks in these fields to make the program perform the corresponding action when you modify an object:
|
Lock Object Marking | Select this checkbox to warn the user that the marking functionality is used by another user at that moment. |
*Note
For more information about marking and locking, refer to the Marking and Locking section of the Object Explorer chapter later in the guide.
Source Control
Executables
These settings will be explained in the chapter Source Control.
Check Guidelines
See chapter Check Guidelines (blank) more info.
Mail Type | Choose whether Object Manager Advanced must send e-mail notifications through Outlook or SMTP. |
|---|---|
SMTP (group of fields) | If you select the SMTP mail type, provide the appropriate credentials, port, and SSL cert if applicable. |
*Note
To test the mail setup, click Send Test Mail on the ribbon. The program will send a test e-mail to the current Microsoft Dynamics NAV user.
Developer Role Center
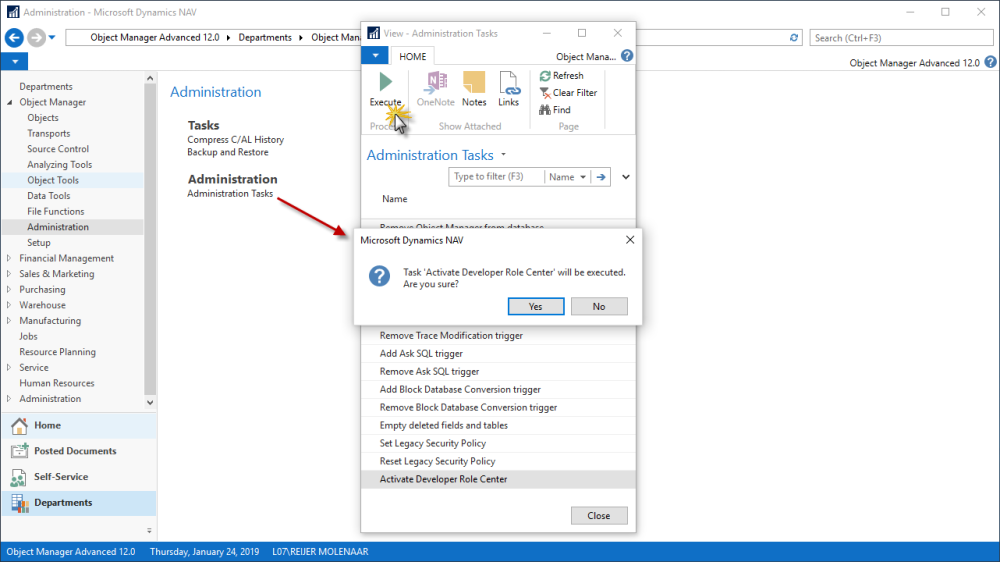
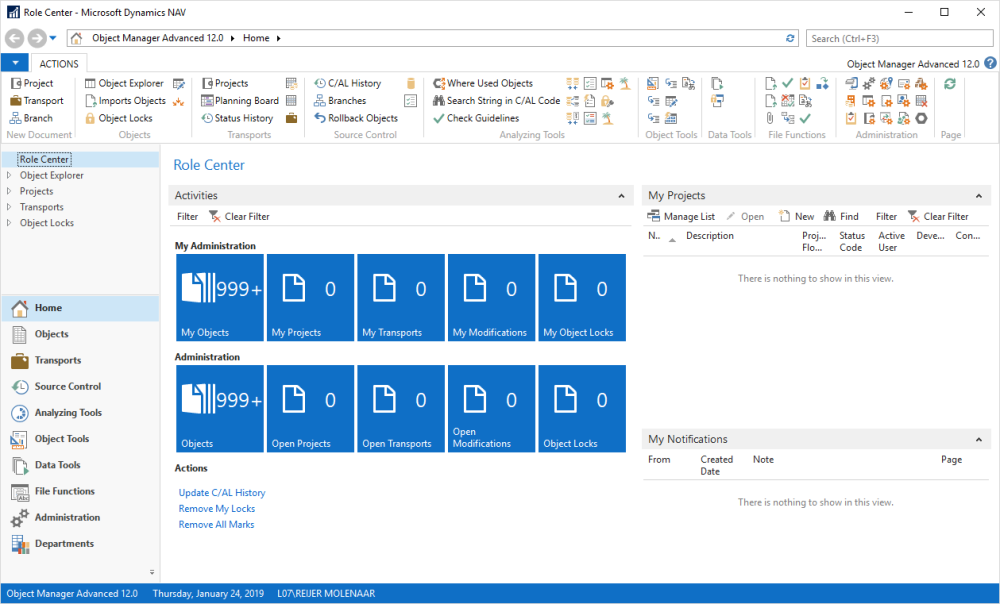
The Object Manager has its own Role Center which makes it a lot easier to work with OMA. You can activate this Role Center with the administration tasks located at Departments > Object Manager > Administration and then click Administration Tasks.
A restart of the Windows Client is needed.
Users and Roles
Object Manager Advanced requires that you specify the roles that users can perform in the add-on and provide the list of these users.
Roles
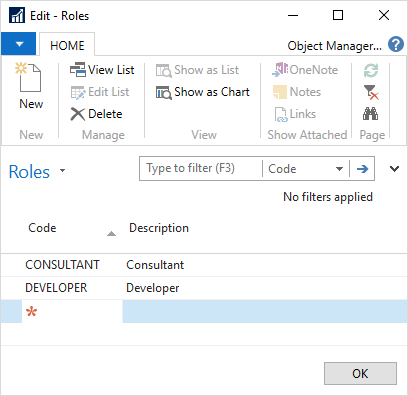
To define user roles, go to Administration > Roles. In the window that appears, enter the appropriate roles and their descriptions. Object Manager Advanced includes the Consultant and Developer sample roles.
Users
To set up users, go to Administration > Users. In the window that appears, fill in the fields as follows:
Code | Enter a code for the user. |
|---|---|
Name, Initials, and E-mail | Enter the user’s name, initials, and e-mail, respectively. |
Default Role | A user can have a default role. This is used when you insert a new project. The code of the active user is placed in the corresponding role on the project card. |
My Objects Version List Filter | Users can specify filters that identify a specific set of objects. |
Short User ID | Enter the Microsoft Dynamics NAV user ID corresponding to the current user. |
Capitalized User ID | The capitalized user ID will be used in the object table’s ‘Locked by’ field. |
Databases
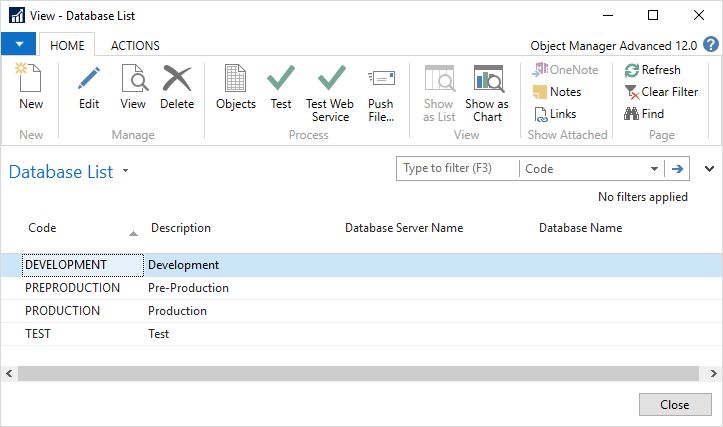
To be able to work with several databases in Object Manager Advanced, you need to define the list of databases with the appropriate connection credentials. To do this, perform the following steps:
Go to
Administrationand then clickDatabases.Click
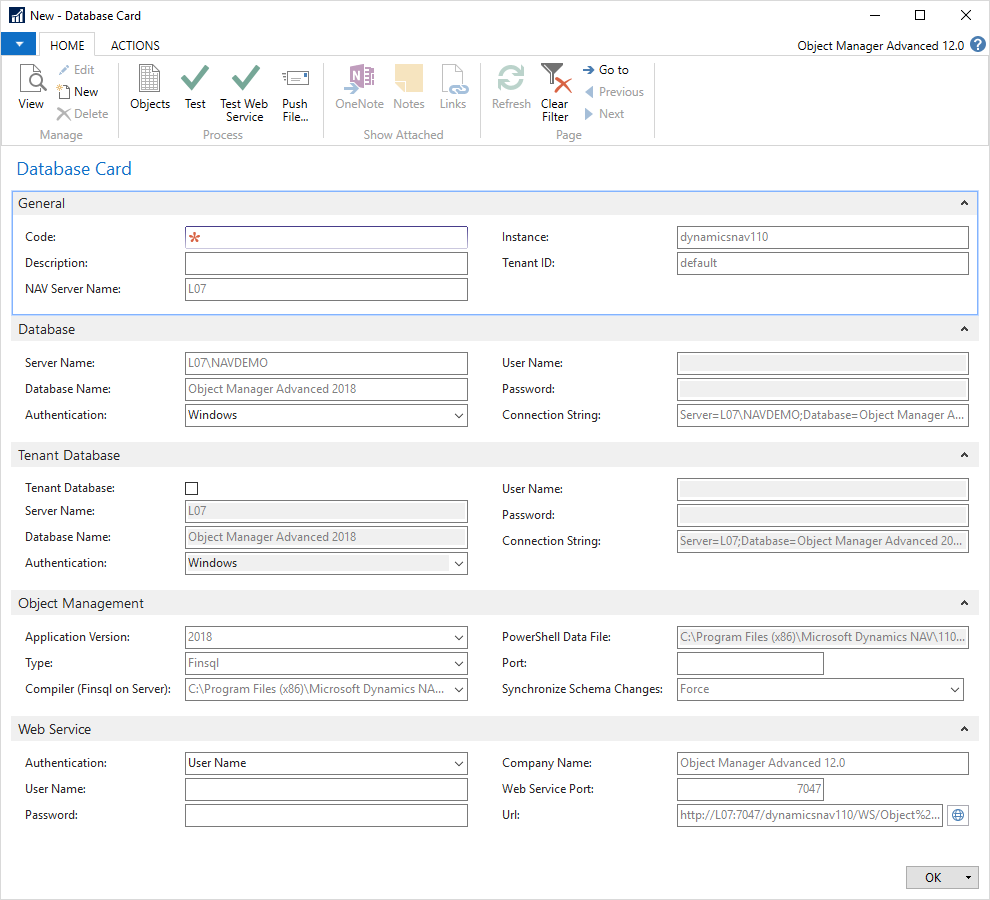
Newin the ribbon to create a recordFill in the fields on the database card as follows:
Code and Description | Enter a code and a description for the database, respectively. |
|---|---|
Server Name, Database Name and Connection String | Enter the name of the server and database. The connection string will be updated accordingly. |
Authentication | Select the authentication type of the database. Possible options are Windows and User Name. |
User Name and Password | If the current database’s authentication type is User Name, enter the corresponding user credentials in these fields. |
To verify the connection to the database, click
Testin the ribbon.To view the list of objects in the database, click
Objectsin the ribbon.
Return to the database list and create all the appropriate databases. The databases that you add to the list can only be used for database comparison. Object Manager Advanced cannot fully work with databases where it is not installed.
Setup Check
To ensure that you have provided all the settings necessary for Object Manager Advanced to work, perform the following actions:
Go to
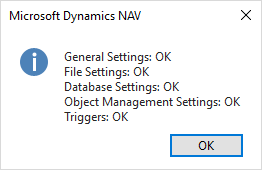
Administrationand then clickAdministration TasksSelect Check Settings and then click Execute in the ribbon. Confirm the action in the dialog that http://appears.In case there are errors in the Object Manager Advanced setup, a message with error details will be displayed.If there are no errors, the following message will be displayed:
